Hybrid Acoustic Panels

Hybrid Acoustic Panels are our series of passive, flexible acoustic panels that, when applied to an architectural space, improve the sound of a room through a proprietary design combining a number-theory diffuser with a sound absorber.
Links
- Hybrid Acoustic Panels Design Guide
- Hybrid Acoustic Panels Specifications
- Wall-Mount Installation Instructions
Safety & Regulatory
Important safety instructions
- Read these instructions.
- Keep these instructions.
- Heed all warnings.
- Follow all instructions.
- Do not allow water to come in contact with panels.
- Clean only with a dry cloth.
- Do not install in an unsafe manner. Install in accordance with the manufacturer’s instructions.
- Do not install near any heat sources such as radiators, heat registers, stoves, or other apparatus that produce heat.
- Use only with the accessories specified by the manufacturer, or sold with the panels.
- Ensure safe mounting of the panels to the wall or ceiling and attach the panels securely to the structure, not to finish materials. Ensure structure and attachment hardware have adequate load-bearing capacity. When in doubt, consult a licensed structural engineer.
Wall-Mount Installation
The following instructions are for the installation of Hybrid Acoustic Panels in a typical wall-mounted configuration.
- Product must acclimate to the environment of the site for at least 48 hours before installing.
- We recommend using a minimum of two persons to install the panels due to their size and weight.
- We recommend using cotton inspection gloves when handling the foam insert to avoid transferring oils or dirt from your hands to the surface of the foam.
- Prepare the wall surface by ensuring it is clean, dry, and free of any obstructions.
- Wall panels are intended to mount directly into wall structural supports, not into the finish drywall or other materials. Ensure that there is sufficient structure behind the wall surface that all fasteners can be securely attached to a structural support. If structure is not present, add it or appropriate blocking to safely support the weight of the panels.
- Provide appropriate mounting hardware for mounting the panels. Fulcrum recommends using 1/4-inch screws or bolts with oversized washers paired with appropriate anchors or other fasteners based on the wall structure. Ensure that the fasteners are long enough to penetrate through the panel and into the structure behind it, and any anchors fully and safely engage with wall structure.
Installation Steps
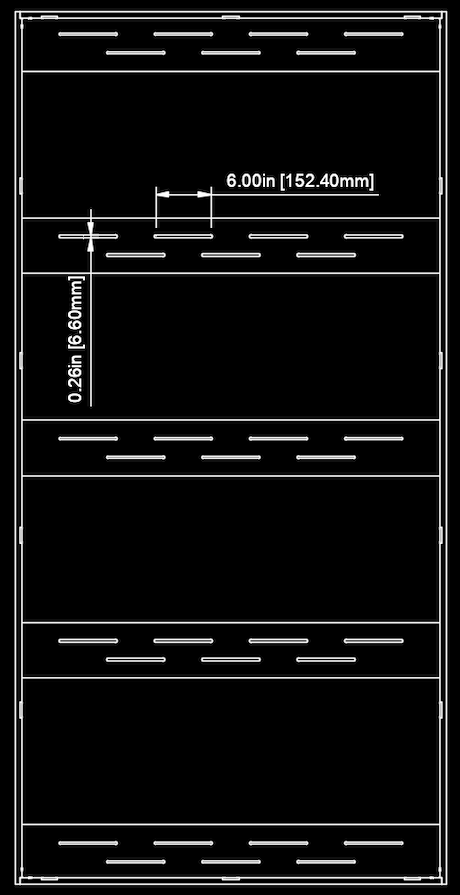
- Remove the diffuser face and foam core from the panel. The diffuser face is held in place by 10 bolts (HA-44W) or 14 bolts (HA-84W) around the perimeter of the panel. Do not remove the two corner bolts at each corner. Remove these screws and gently lift the diffuser face off the panel. The metal brackets should remain attached to the diffuser face that you have just removed. Using cotton inspection gloves, carefully remove the foam core and place it to the side.
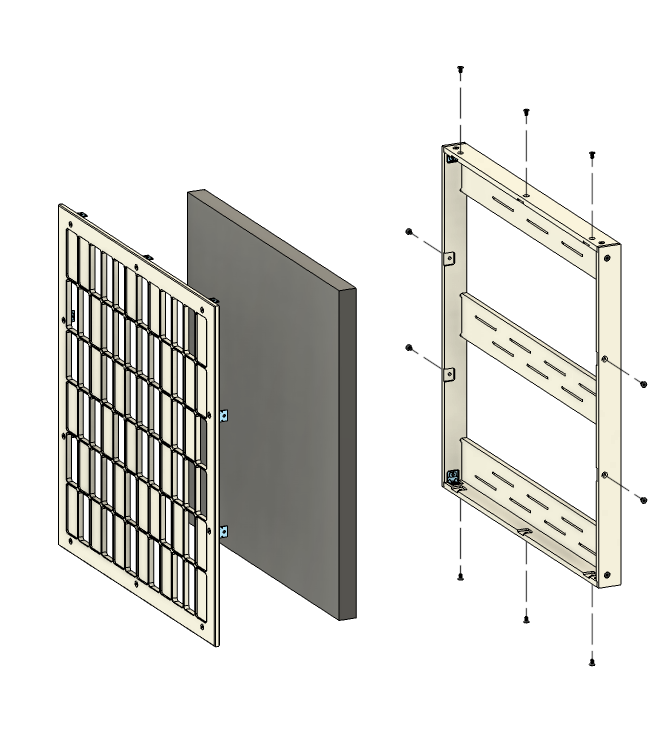
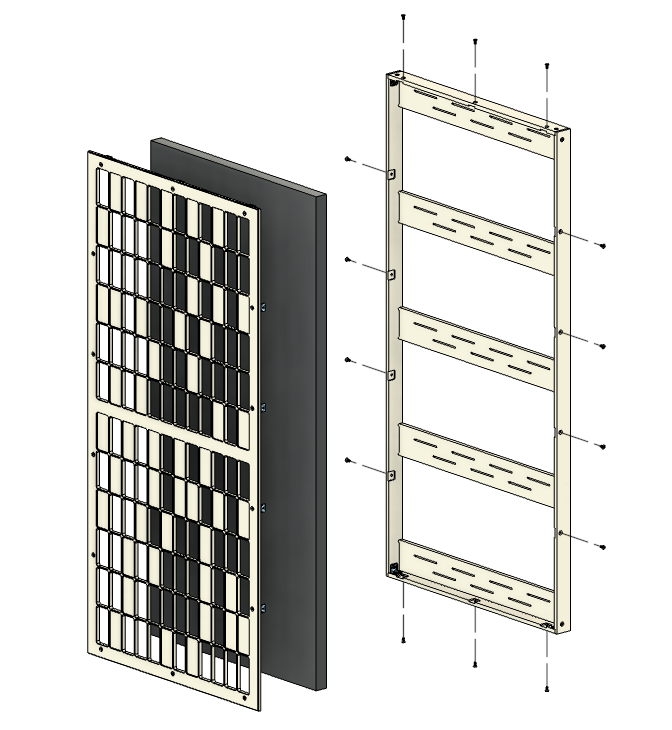
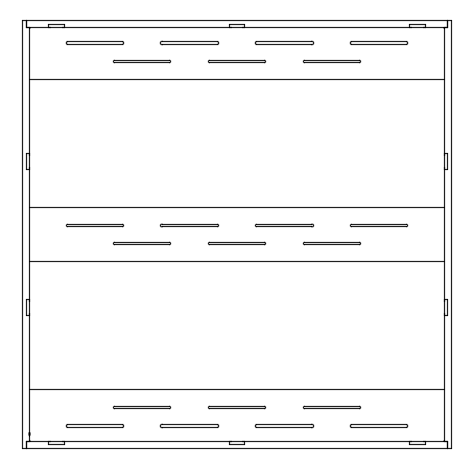
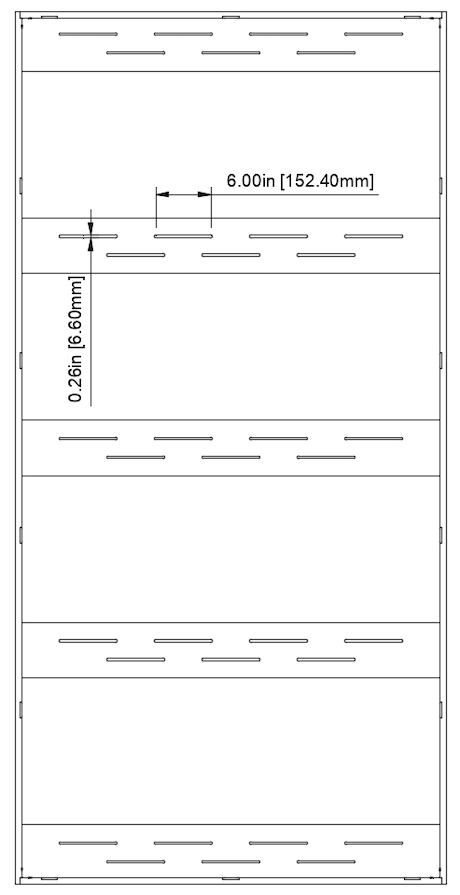
- Position the panel frame on the wall. Use a level to ensure the panel is straight and mark the location of the mounting holes on the wall. The back of the panel frame has 3 (HA-44W) or 5 (HA-84W) mounting strips that provide continuous slots allowing a minimum of 2 fasteners per mounting strip. Mark these locations as appropriate.

-
Attach the panel frame to the wall surface. Ensure there are at least 2 fasteners per mounting strip: 6 (HA-44W) or 10 (HA-84W) fasteners in total. Ensure all fasteners are fully secured and the panel is suspended flush with the wall, level and square.
-
Reinstall the foam core. Using cotton inspection gloves, carefully place the foam core back into the panel frame, ensuring it fits snugly and is aligned properly. It is often helpful to start at the bottom of the panel and work your way up, ensuring the foam is seated properly in the frame.
-
Reinstall the diffuser face. Align the diffuser face with the panel frame and secure it using the bolts removed in step 1. Ensure all bolts are tightened evenly to avoid warping the diffuser face. Take care to not damage the foam core with fastners or the integrated metal brackets during this step.